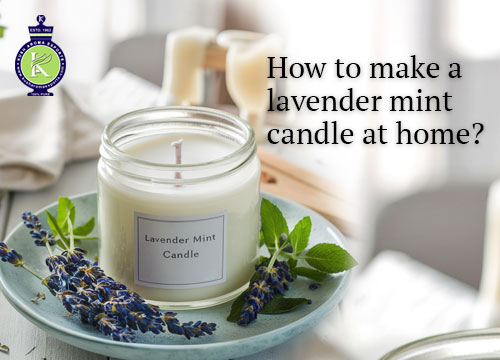
People appear to believe that making candles at home is a time-consuming task, but this is not the case. It’s a very simple and straightforward DIY project that can be completed at home. So, let’s make our own candles using the supplies and tools listed below for a lavender mint-scented candle.
DIY Lavender Mint Candles: Step-by-Step Guide to Make Aromatic Candles at Home
Supplies for Candle Making:
- 30 Drops of Lavender Essential Oil.
- 20 drops of peppermint essential oil.
- 4 cups soy wax flakes.
- Leaves of Lavender and Peppermint.
- Wick for Candles That Have Been Pre-Waxed.
Tools required:
- Jars are made of glass.
- A Boiling Pot.
- Pencil.
- Scissors.
All these essential oils are essential oils retailers, essential oil exporters, or attars suppliers in any desired quantity.
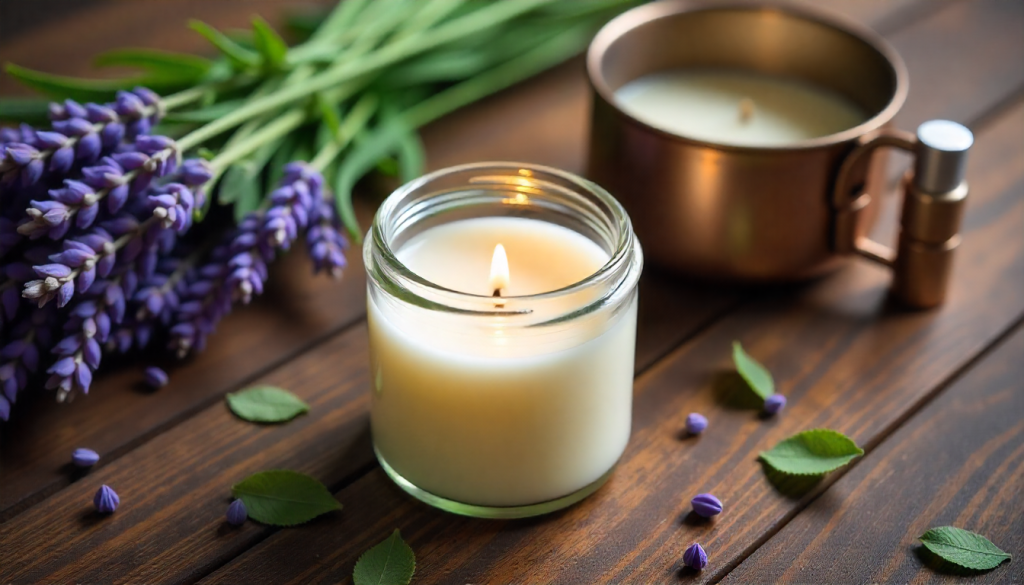
The lively, cooling flavor of mint combined with the relaxing floral lavender scent is a lovely sensation to have in your home. These candles burn brightly and have a pleasant scent. Continue reading to learn more about the ingredients used in them.
Some More Ingredients used for Lavender Mint Candles
Lavender Fragrance Oil:
Lavender is a herb that is used to treat anxiety. When lavender-scented candles are used, headaches are less severe and occur less frequently. Lavender and sleep have a synergistic effect that helps to prevent insomnia. It has a calming effect as well.
Peppermint Essential Oil:
Peppermint is a great addition to household essentials like soaps, shampoos, and candles because of its fresh scent. The aroma is pleasant and aids in the elimination and reduction of offensive odors. It’s just as effective at removing creepy crawlies as it is at removing fleas, which is a well-known benefit.
Soy Wax Flakes:
Soy wax is a renewable natural resource that can be used to make candles. It is biodegradable and easy to clean with just soap and water. Furthermore, because soy wax has a lower melting point than paraffin wax, soy candles burn slower and for longer.
Wax-Coated Candle Wicks:
Wax Coated Candle Wicks can be used to make a variety of different candles. Cotton candle wicks produce very little smoke, making them ideal for use in the home.
Lavender and Peppermint Leaves:
Adding dried herbs to the melted wax during the candle-making process improves the scent and texture of the candles. You can add as many herbs to your wax as you want, depending on your preferences.
Precautions Before Making Lavender Mint Candles.
- Let’s go over some safety precautions before we get into the step-by-step recipe.
- When making and using candles, always use caution.
- Always use caution when working with hot wax.
- A candle should never be left unattended.
- Keep wicks trimmed to ensure safe lighting and burning.
Step-by-Step Instructions for Making Lavender Mint Candles
Let’s get started making our lavender and mint-scented candles now that you’re aware of all the safety precautions.
Step 1: Get Your Jar Ready
Prepare your jars for the melted soy wax first. To begin, place the wick in the jar with the weighted end touching the jar’s bottom. The wick should be in the center of the jar, straight, and about an inch above the top.
You can also use a dab of hot glue to help keep the weighted end in place. After the wick is in place, secure it with a clothespin or wrap it around a pencil. Place the clip or pencil on top of the jar. To straighten out the wick, gently pull it out.
Step 2: Add the Herbs
Take your fresh herbs and make sure they’re clean and dry before using them. After that, clean and dry the herbs before placing them in the jar. Don’t overfill the jar; 8-10 pieces of leaves should be enough. Break the leaves apart before adding them to release some oils and increase the aroma.
Step 3: Melt the Wax
Now comes the fun part: melting the wax. This section should not alarm you. 2 cups of soy wax flakes should be added to your cooking pot. Use a cheap pot because this method can be messy and wax residue may remain in the pot.
Simply heat 2 cups soy wax flakes in a cooking pot on low/medium heat for 5-6 minutes, or until the flakes have completely melted into a liquid. Two cups of flakes are enough for one candle. If you’re making multiple candles or a larger batch, you can certainly add more.
Step 4: Pour Wax
Pour the liquid wax into your candle jars with extreme caution. For this step, we recommend wearing gloves. Check to see if the wick has been knocked out of place. Fill the jars up to an inch above the wick. Never fill jars all the way to the top; instead, leave about an inch of space.
Step 5: Allow Time for It to Cool
Keep your jars somewhere cool and dry where they won’t be disturbed. They will harden in this location over the next 24 hours. Avoid touching or moving them during this time.
Step 6: Trim the Wick
Once the wax has solidified, remove the clip and trim the wick to about 1/4 inch above the wax. You will be able to safely light and burn your candle as a result of this.
Conclusion
Creating your own lavender mint-scented candles at home is not only simple but also incredibly rewarding. With just a few natural ingredients like soy wax, lavender and peppermint essential oils, and some dried herbs, you can craft aromatic candles that promote relaxation, improve mood, and freshen up your space. By following the step-by-step instructions and observing basic safety precautions, you’ll enjoy beautifully scented candles that are eco-friendly, long-lasting, and uniquely yours. So gather your supplies and let your home be filled with the calming blend of lavender and the refreshing essence of mint!